Setting Up an EXTERNAL-IP for Local LoadBalancer Service
Introduction
If you've used a LoadBalancer service from a Cloud Provider, you'll know how convenient it is to have an EXTERNAL-IP assigned automatically. However, when using local Kubernetes, the default setting doesn't provide an EXTERNAL-IP. Building on our previous discussion, this guide will show you how to use `cloud-provider-kind` to assign an EXTERNAL-IP to your local LoadBalancer service.
First, make sure you've set up your local Kubernetes using Kind as outlined in my previous guide. This is necessary to proceed with the next steps.

Installing cloud-provider-kind
Since this is a Go package, you'll need to install Go first. Then, you can install the package with the following steps:
Then execute command to use:
Keep in mind that you need to keep the terminal running while using Kubernetes to create the EXTERNAL-IP.
Testing with local EXTERNAL-IP
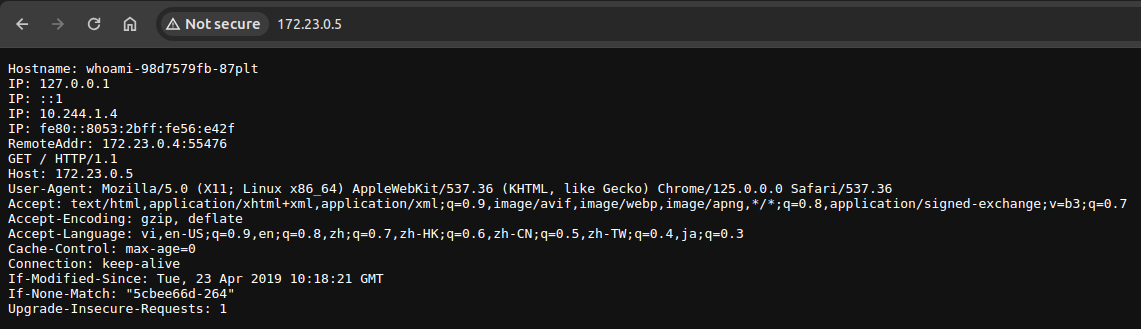
Create a deployment and expose a LoadBalancer service to check if the EXTERNAL-IP has been generated.
The results will be as follows:

You can access the EXTERNAL-IP to use it locally.
Using cloud-provider-kind as a service
If you're on Ubuntu, there's a way to automatically run cloud-provider-kind when you start your machine as a service, so you don't have to manually start it every time you want to use it.
First, navigate to the directory /etc/systemd/system and create a file called cloud-provider-kind.service with the following content:
- ExecStart: Use the command `which cloud-provider-kind` to replace your directory.
- User, Group: Use the command `id` to get the appropriate values.
To start the service:


Comments
Post a Comment