Setting up Kubernetes Dashboard with Kind
Introduction
In a previous article, I guided you through using Helm to deploy on Google Kubernetes Engine. However, if you want to cut down costs by using Kubernetes in your local environment instead of relying on a cloud provider during development, then Kind is your go-to.
There are several tools to help set up Kubernetes locally, such as MiniKube, Kind, K3S, KubeAdm, and more. Each tool has its own pros and cons. In this article, I'll walk you through using Kind to quickly set up a Kubernetes cluster on Docker. Kind stands out for its compactness, making Kubernetes start up quickly, being user-friendly, and supporting the latest Kubernetes versions.

Working with Kind
Firstly, follow the instructions here to install Kind according to your operating system.
If you're using Ubuntu, execute the command:
After successfully installing Kind, you can check its version with the following command:

To create a cluster, use this command:

Use Helm to set up the Kubernetes Dashboard
The Kubernetes Dashboard is a tool for managing Kubernetes clusters with an easy-to-use web UI.
First, add the Kubernetes Dashboard repository:
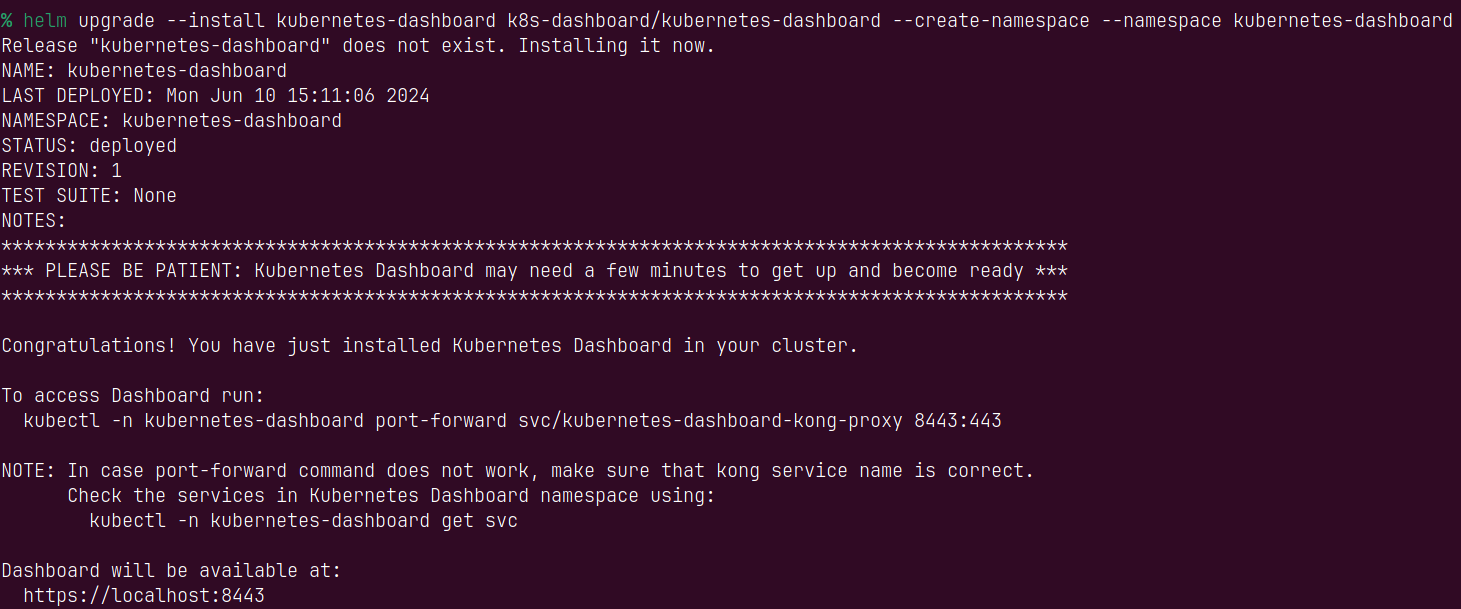
Next, install the chart:
Please note that you need to successfully create a Kubernetes cluster before you can install a Helm chart.
-n {namespace}: Setting a namespace is optional, but organizing resources by namespace can be helpful, especially if you need to install multiple Helm charts.
Once you've successfully installed the Helm chart, the result will be as follows:
You can check if the resources were created successfully like this:

Next, forward the port for the service so it can be accessed from localhost.

As a result, you can access the Kubernetes Dashboard like this:

To generate a token, create a file named `service-account.yml` with the following content:
Apply to Create Resources:

Next, generate a token like this:

Use that token to login to the Kubernetes Dashboard.


Comments
Post a Comment